
City Lights Photography Checklist: 12 After-Dark Shots to Try
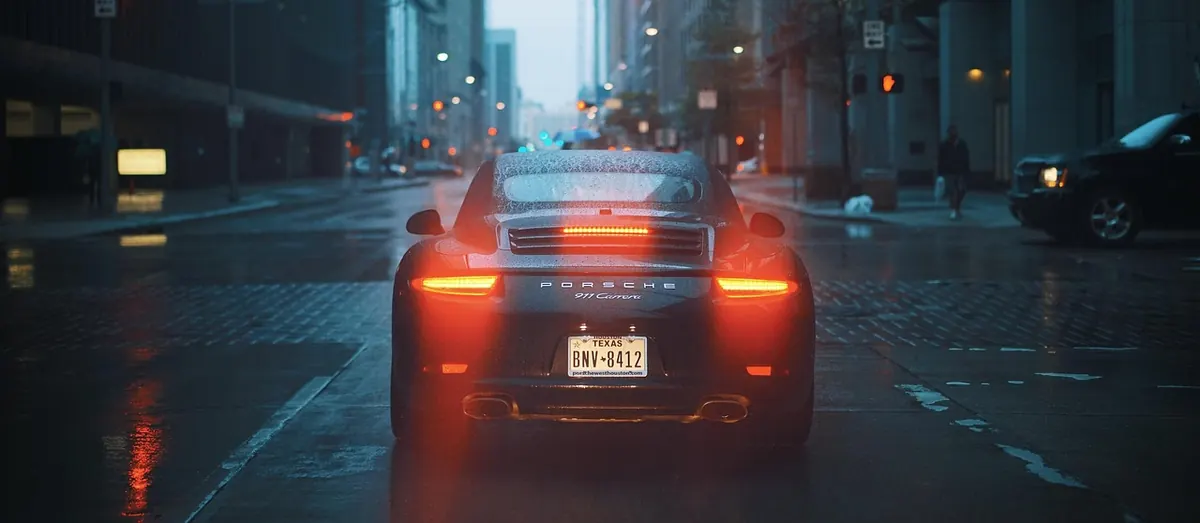
Most photographers pack up when the sun goes. That is the moment the city stops being scenery and starts being lighting design. Sodium lamps flick on in sequence, shop windows become softboxes, and every puddle turns into a second, wobblier version of the street above it.
What follows is a shot list for one evening's walk: twelve frames to hunt, roughly in the order you will meet them. Take a tripod if you have one, but none of it needs a studio. A steady hand, a wall to lean on and a little patience will carry you a long way.
Blue Hour Is the Warm-Up, Not the Warm-Down
Those ten to twenty minutes after sunset, before the sky goes properly black, are the easiest win of the night. There is still colour overhead and the windows are already lit, so you get two light sources in one frame. That is more than most night shots manage.
1. The high view. A multi-storey car park top deck, a hill, a footbridge over the ring road. Arrive before sunset, find your frame, then wait. The sky holds colour while the streets below are lit, which makes the exposure forgiving. Check that the car park is open to the public and keep away from anything fenced off.
2. The lit corner. Once the sky darkens, drop to street level and shoot the corner where a café, launderette or corner shop spills warm light onto the pavement. Meter for the sky so it stays blue rather than grey. Then check the histogram: if the sign above the door has clipped into a white blob, shorten the exposure and lift the shadows when you edit.
Reflections: Where the City Doubles
Rain is a gift. It flattens the street, cuts the contrast and hands you a second image under your feet. You do not need a downpour — a puddle the size of a dinner plate will do.
3. The puddle. Get the camera low, as close to the ground as your knees or tripod allow, and line a lit sign or a lamp up with its reflection. Let water fill roughly half the frame; a wide lens makes the puddle look bigger than it is.
4. The wide water. Canals, docks, rivers, the harbour at low tide. Still water gives a clean mirror, wind gives texture, and a five to ten second exposure turns ripples into a sheen. If you plan to shoot from steps or a jetty, check tide times first.
Bridges, Tunnels and Rivers
Bridges give you three pictures for the price of one: the structure itself, the traffic on it, and the view from it.
5. Under the arches. Stand beneath a bridge and look along the row of lamps inside. The repeating arches do the composition for you. Run the nearest arch out of the corner of the frame and keep the vanishing point slightly off centre. Watch your footing — riverside paths are often unlit and slimy underfoot.
6. From the bridge, down the road. Look along the traffic rather than across it. Vehicles coming towards you leave a wide smear of white; vehicles heading away leave red. Around f/8 and several seconds gives you full lines of light instead of dashes.
Neon: Colour Without the Clutter
Neon is the easiest colour in the city and the easiest to ruin. The trick is to fill the frame with it. A sign shot from across the road becomes a small bright rectangle in a dark mess; the same sign shot from two metres becomes the picture.
7. Tight on the tube. Fill the frame with the glass and a single word. Neon is bright enough to shoot handheld at a fast shutter, so meter for the tube and decide whether you want the glass crisp or glowing. A dark wall behind the sign gives the colour somewhere to sit.
8. The reflection underneath. Wet tarmac and dark shop windows both work. Put the sign at the top of the frame and its reflection at the bottom, and let the middle be plain street. Auto white balance will argue with neon, so set daylight or tungsten and correct later from a raw file.
Street Lamps and the People Beneath Them
Lamps are the punctuation of a night walk. They give you pools of light with darkness between them, and those gaps are where the pictures live.
9. One pool, one figure. Pick your pool of light, focus on the patch of pavement where someone will walk, then wait. A person crossing the frame is usually better as a soft blur than a sharp portrait, and a two-second exposure turns a passer-by into a ghost with a shopping bag. If you want them sharp, ask a friend to stand still and count to two.
10. The receding row. A line of lamps down an avenue is not a picture until you compress it. A 50mm to 85mm lens stacks the lamps up and makes the repetition the subject. Shoot slightly across the row rather than straight down it, and bracket a couple of exposures so the nearest lamp does not blow out.
Shutter Open: Trails, Buses and the Last Frame
11. The junction. Stand on a pedestrian island or the pavement — never in the road, however empty it looks. Tripod, ISO 100 to 200, around f/8, and an exposure of eight to fifteen seconds. A bus passing at the right moment gives you a solid block of red and a bright interior, which reads as movement better than a car does.
12. The last frame. This is the one people remember. Wait until the crowds thin and look for the shop with the shutter half down, the last bus, the queue outside the chip shop, the empty street with one working lamp. It is quieter than everything else on this list, and quieter usually photographs better.
Half of night photography is deciding what to leave out. Darkness is not an obstacle; it is the editing tool.
Before You Go Out: A Short Checklist
- A tripod, or a beanbag or folded jacket to rest the camera on a wall
- A spare battery — cold drains them faster than you expect
- A lens cloth, because drizzle and fingerprints both show up at night
- A small
Photo: Pexels / Pixabay